

I always wanted one of those maps of the United States that you can stick pins in to mark where you’ve gone or where you’re going to go, or where you dream of going. A couple of weeks ago, I decided to look them up online, and was shocked to see that they cost $300+. Now, I know people who pay that much money to put things on their walls, but I’m not one of them. I don’t really have 300 extra dollars, and even if I did I wouldn’t spend it on a map, just on general principle.
I do however, love a project! So after some looking around, I decided I’d make my own, and am thrilled with how it turned out! It was simple to do, and the whole thing was hung and ready to go in a matter of hours (and most of that time was just waiting for the glue to dry) Total cost: around $35, even less if you already have the adhesive. Want to make your own?
Here’s what you need:
- A large, good quality map (I chose this one from National Geographic. It’s nice to look at, came rolled neatly in a tube, and includes all the national state parks and everything. Cool.) $12
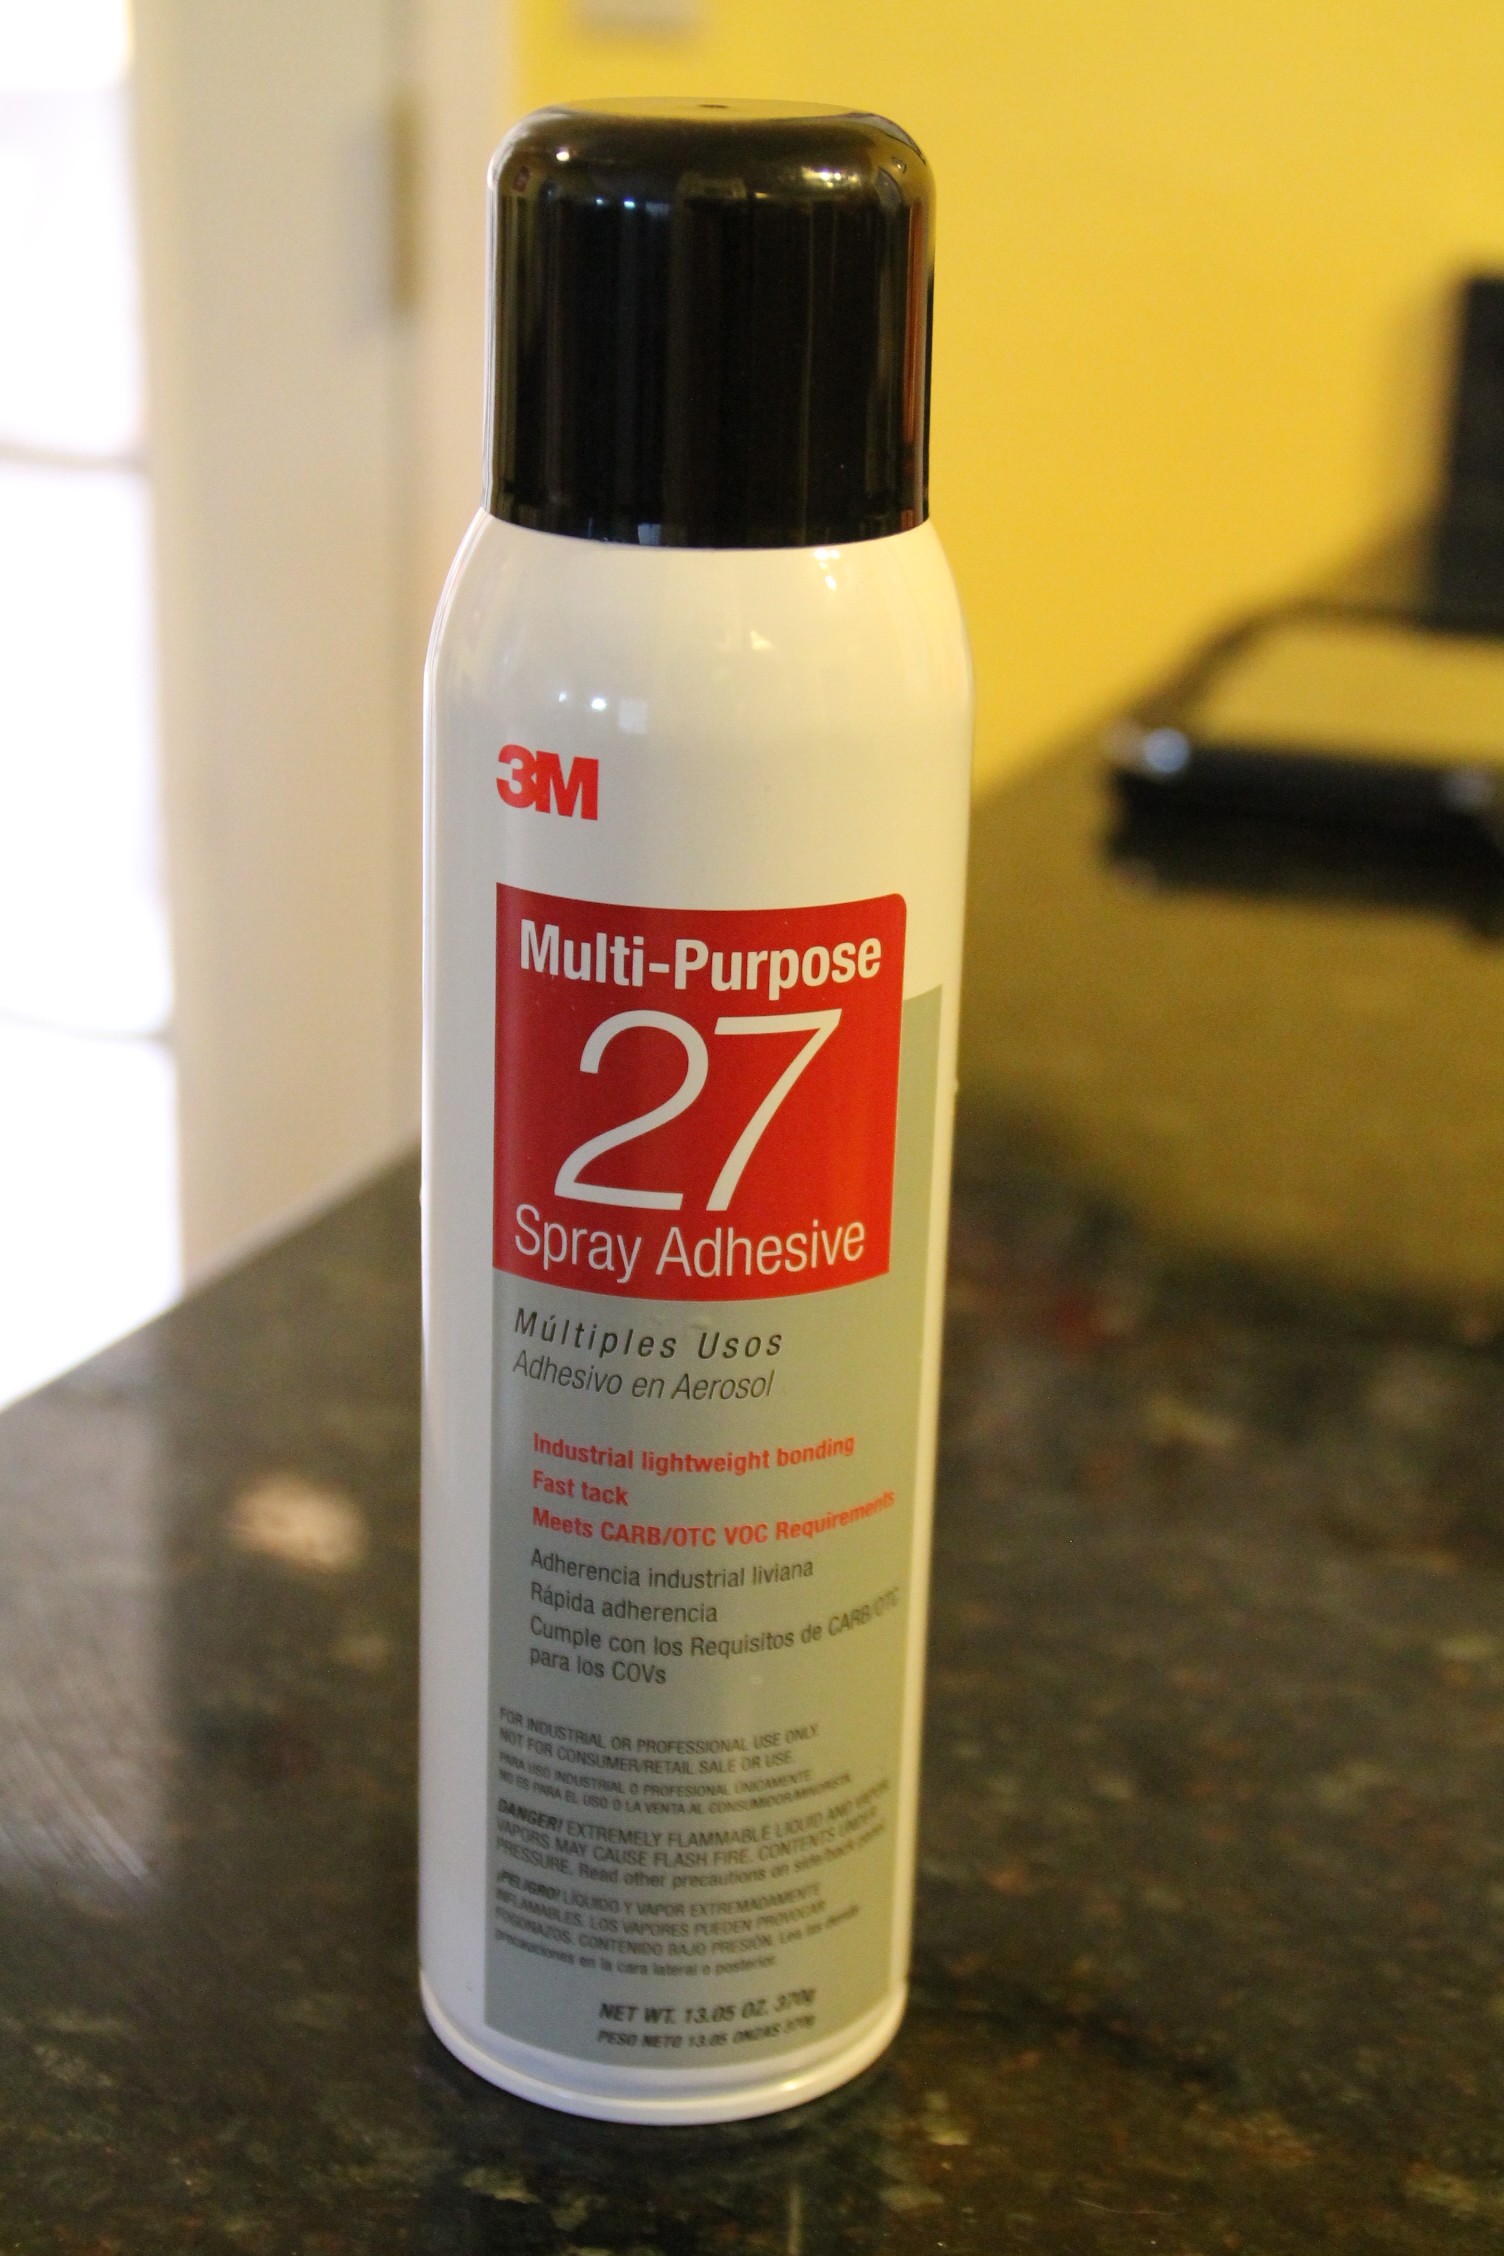
- Spray adhesive. 3M brand worked well. $8
- A sheet of styrofoam insulation. We got ours at Home Depot, and could only find a huge 4 by 8 ft sheet, so we cut it down to size. $7

- Some sort of trim to serve as the frame. Also from Home Depot. $5

- Finally, super-strong glue to glue on the trim and hold it all together. We used Gorilla Glue. $5
First, use the spray adhesive to glue the map to the foam board. Make sure to smooth it all out with your hands to get rid of any air bubbles. If the board is bigger than your map, trim it down to size. Tip: make sure the blade you use to cut it is super sharp, otherwise it tears through the strofoam and makes a big ole mess in the process.
Next, cut your trim down to size. We used a mitre saw, cut them to the length and width of the map, then angled them at 45 degrees so they would fit together like a frame:
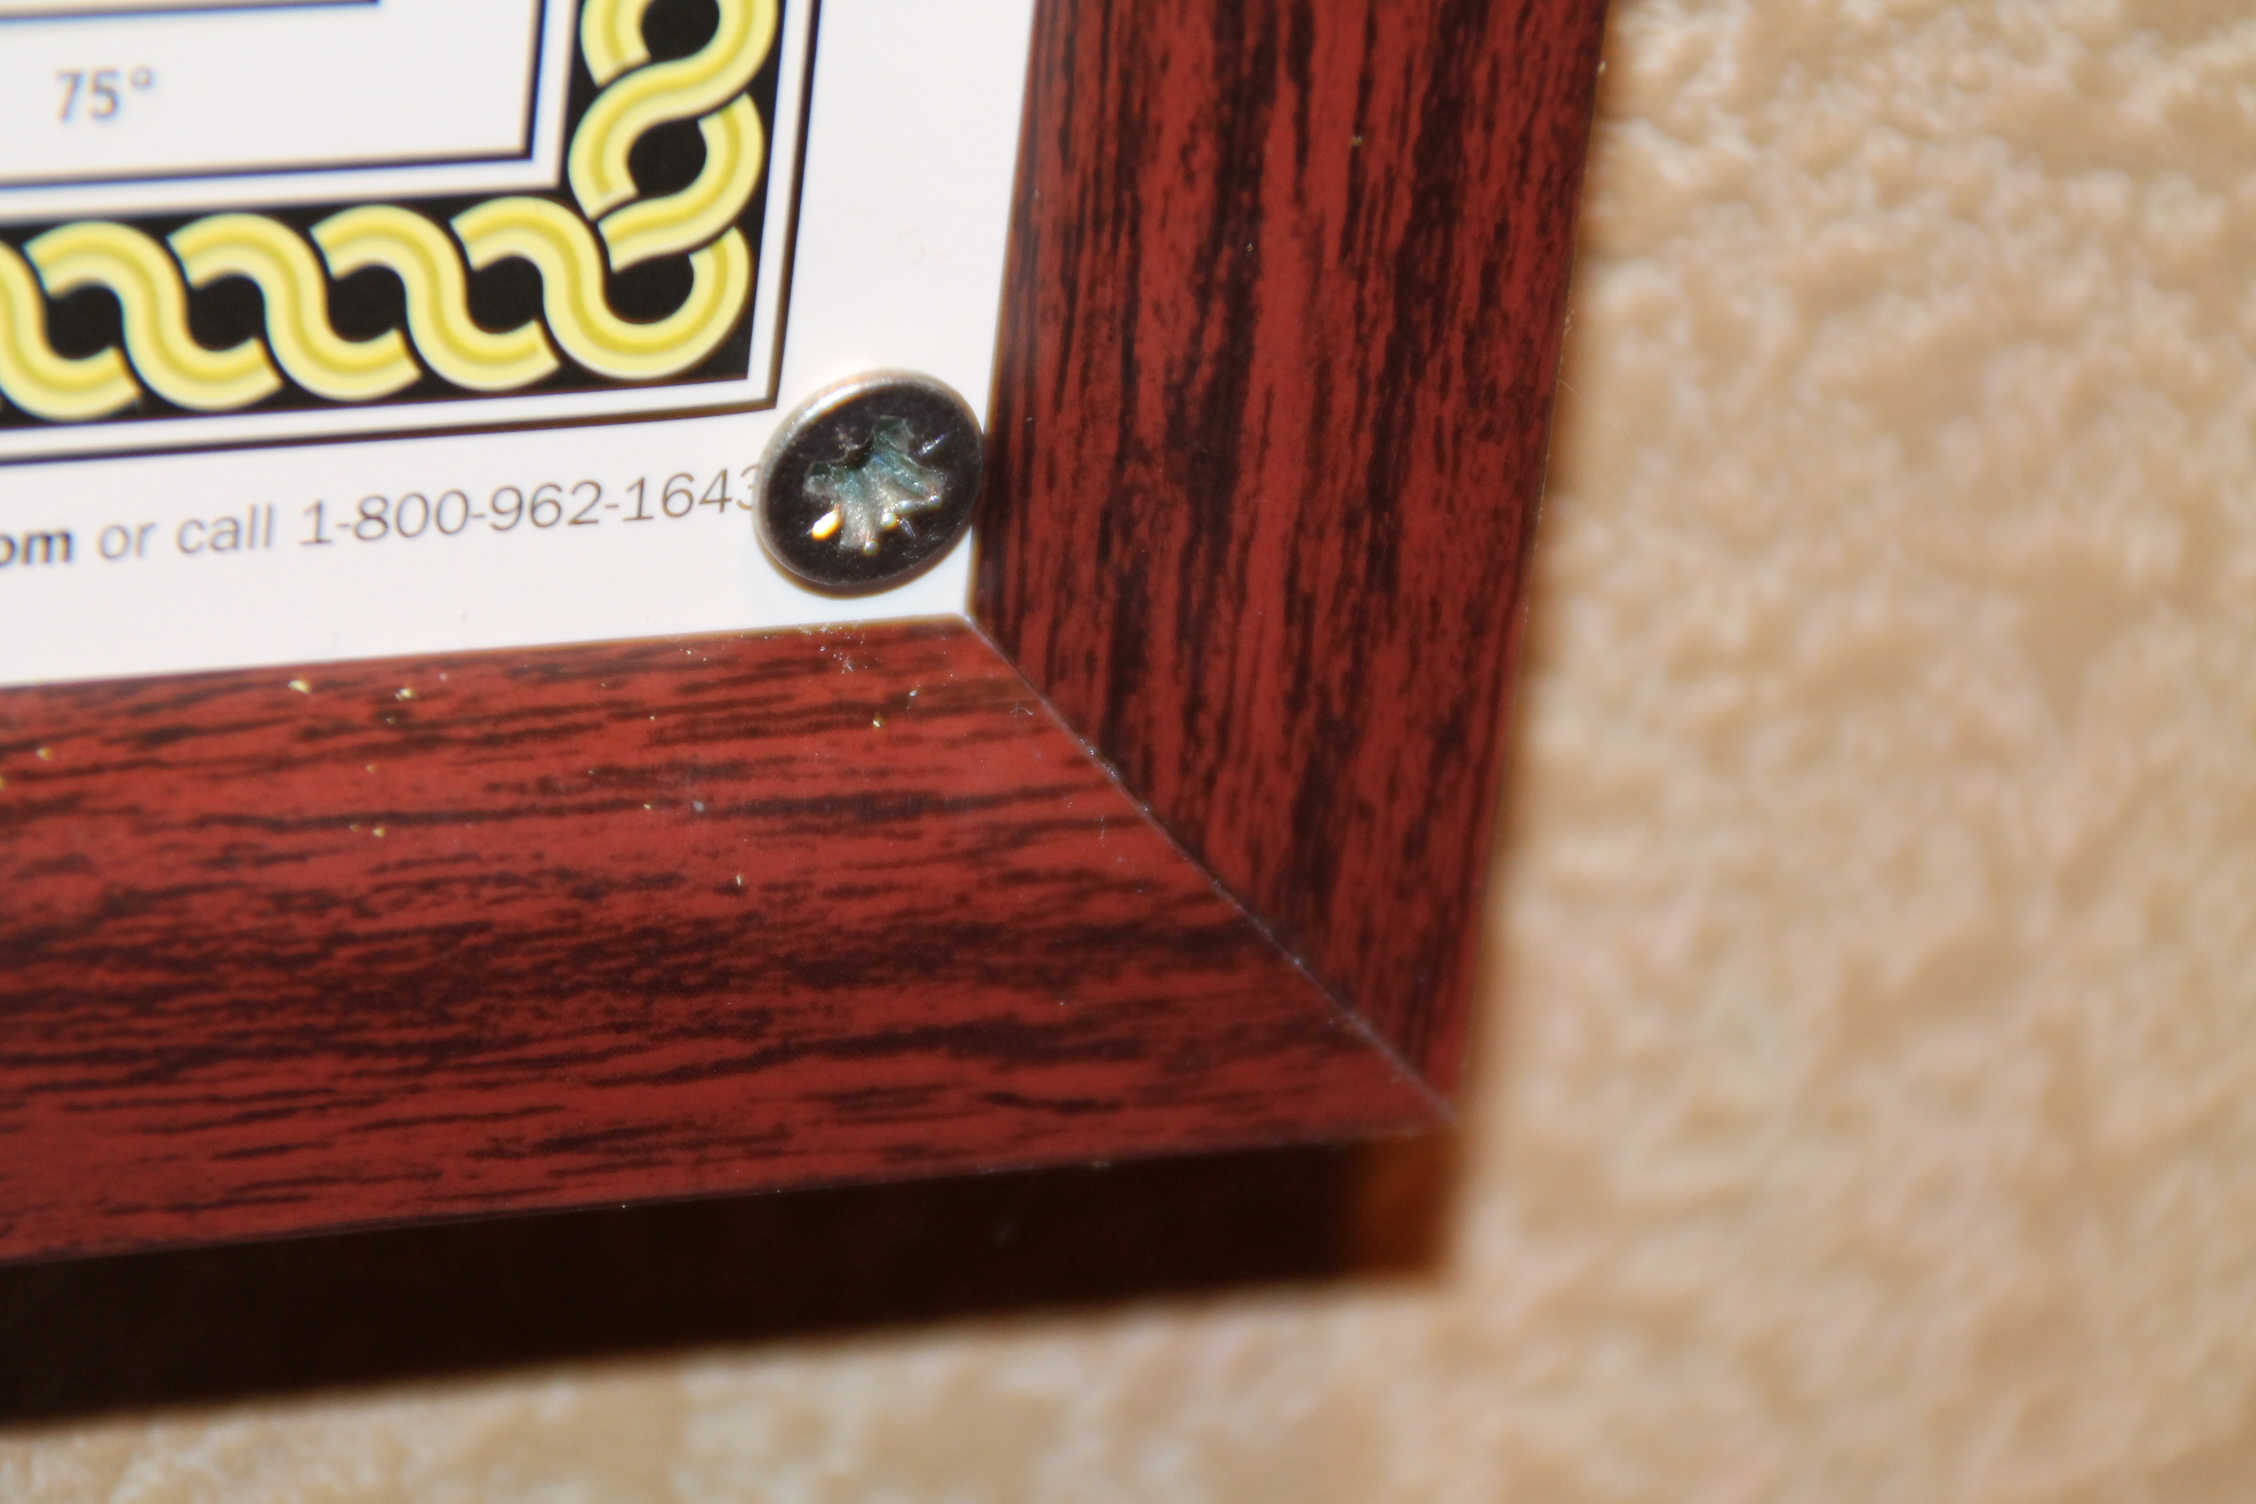 (Note: The screw you see was added later, when we hung it. It was bowing out a bit, so anchoring all four corners helped it lie flat on the wall.)
Once the trim was cut to size – and we made sure it all fit together – we glued it all down using the Gorilla Glue, and laid it flat on the kitchen table with several books weighting it down while the glue dried.
Finally, we got it ready to hang. First we drilled two holes in the back, and strung it with wire (which may work just fine for you), but we weren’t totally happy with the way it hung against the wall, so we ultimately decided to screw it through all four corners directly onto the wall.
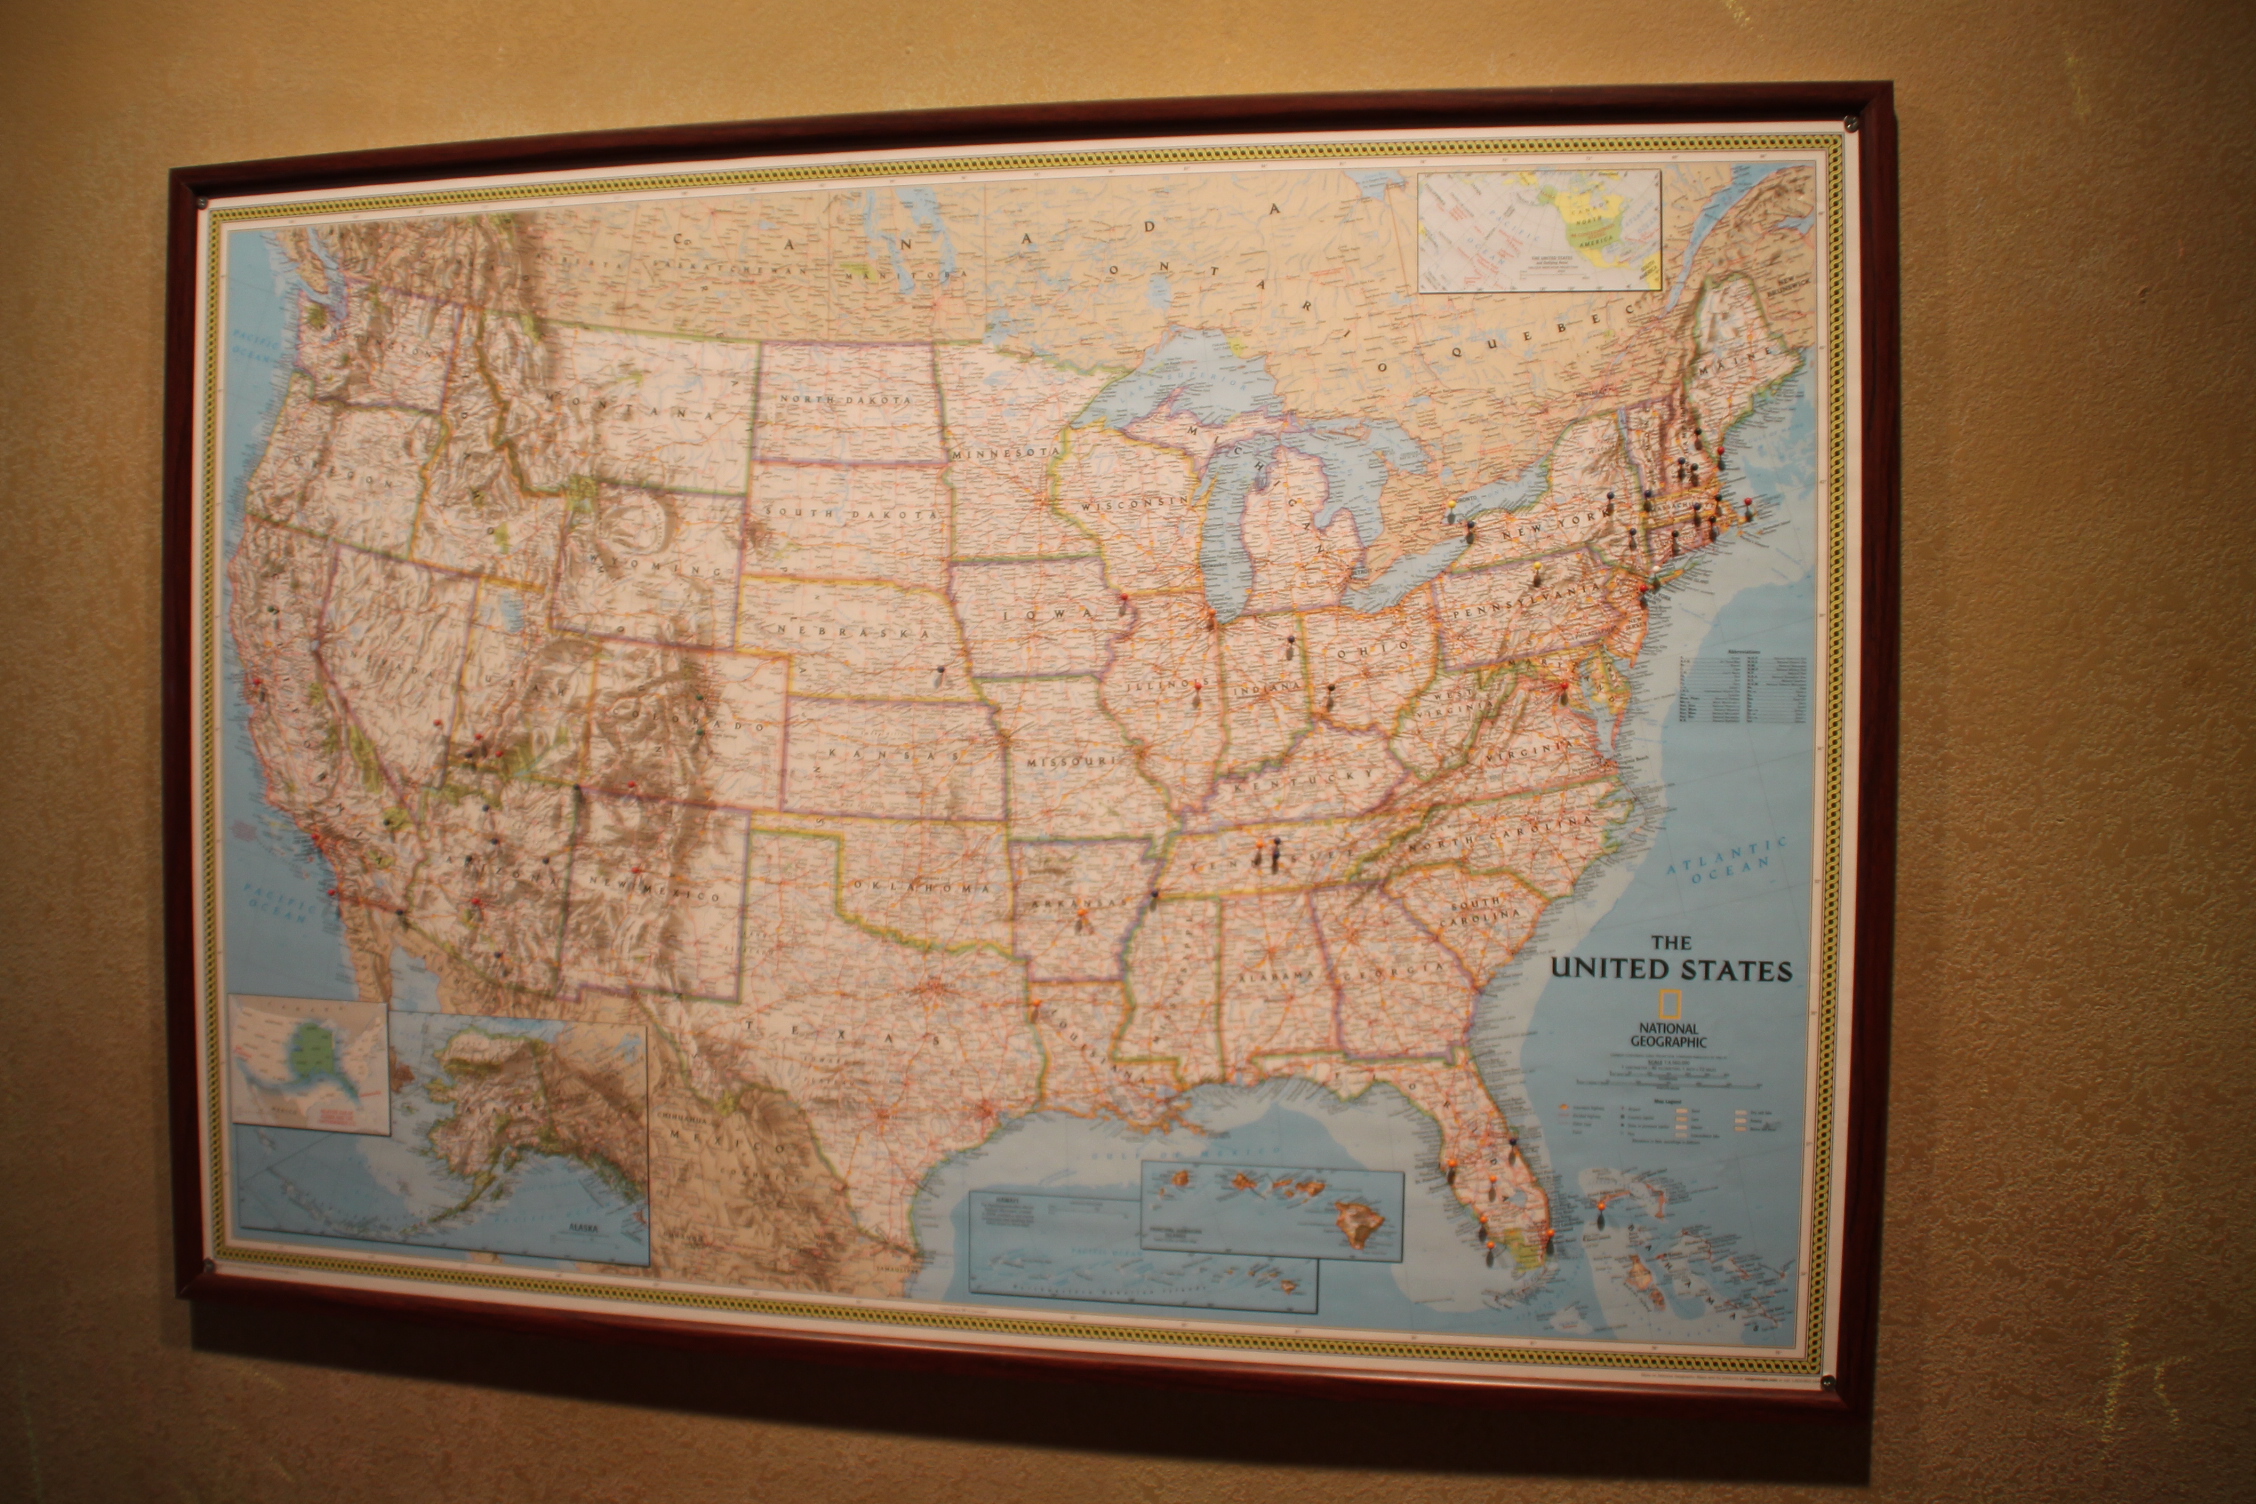
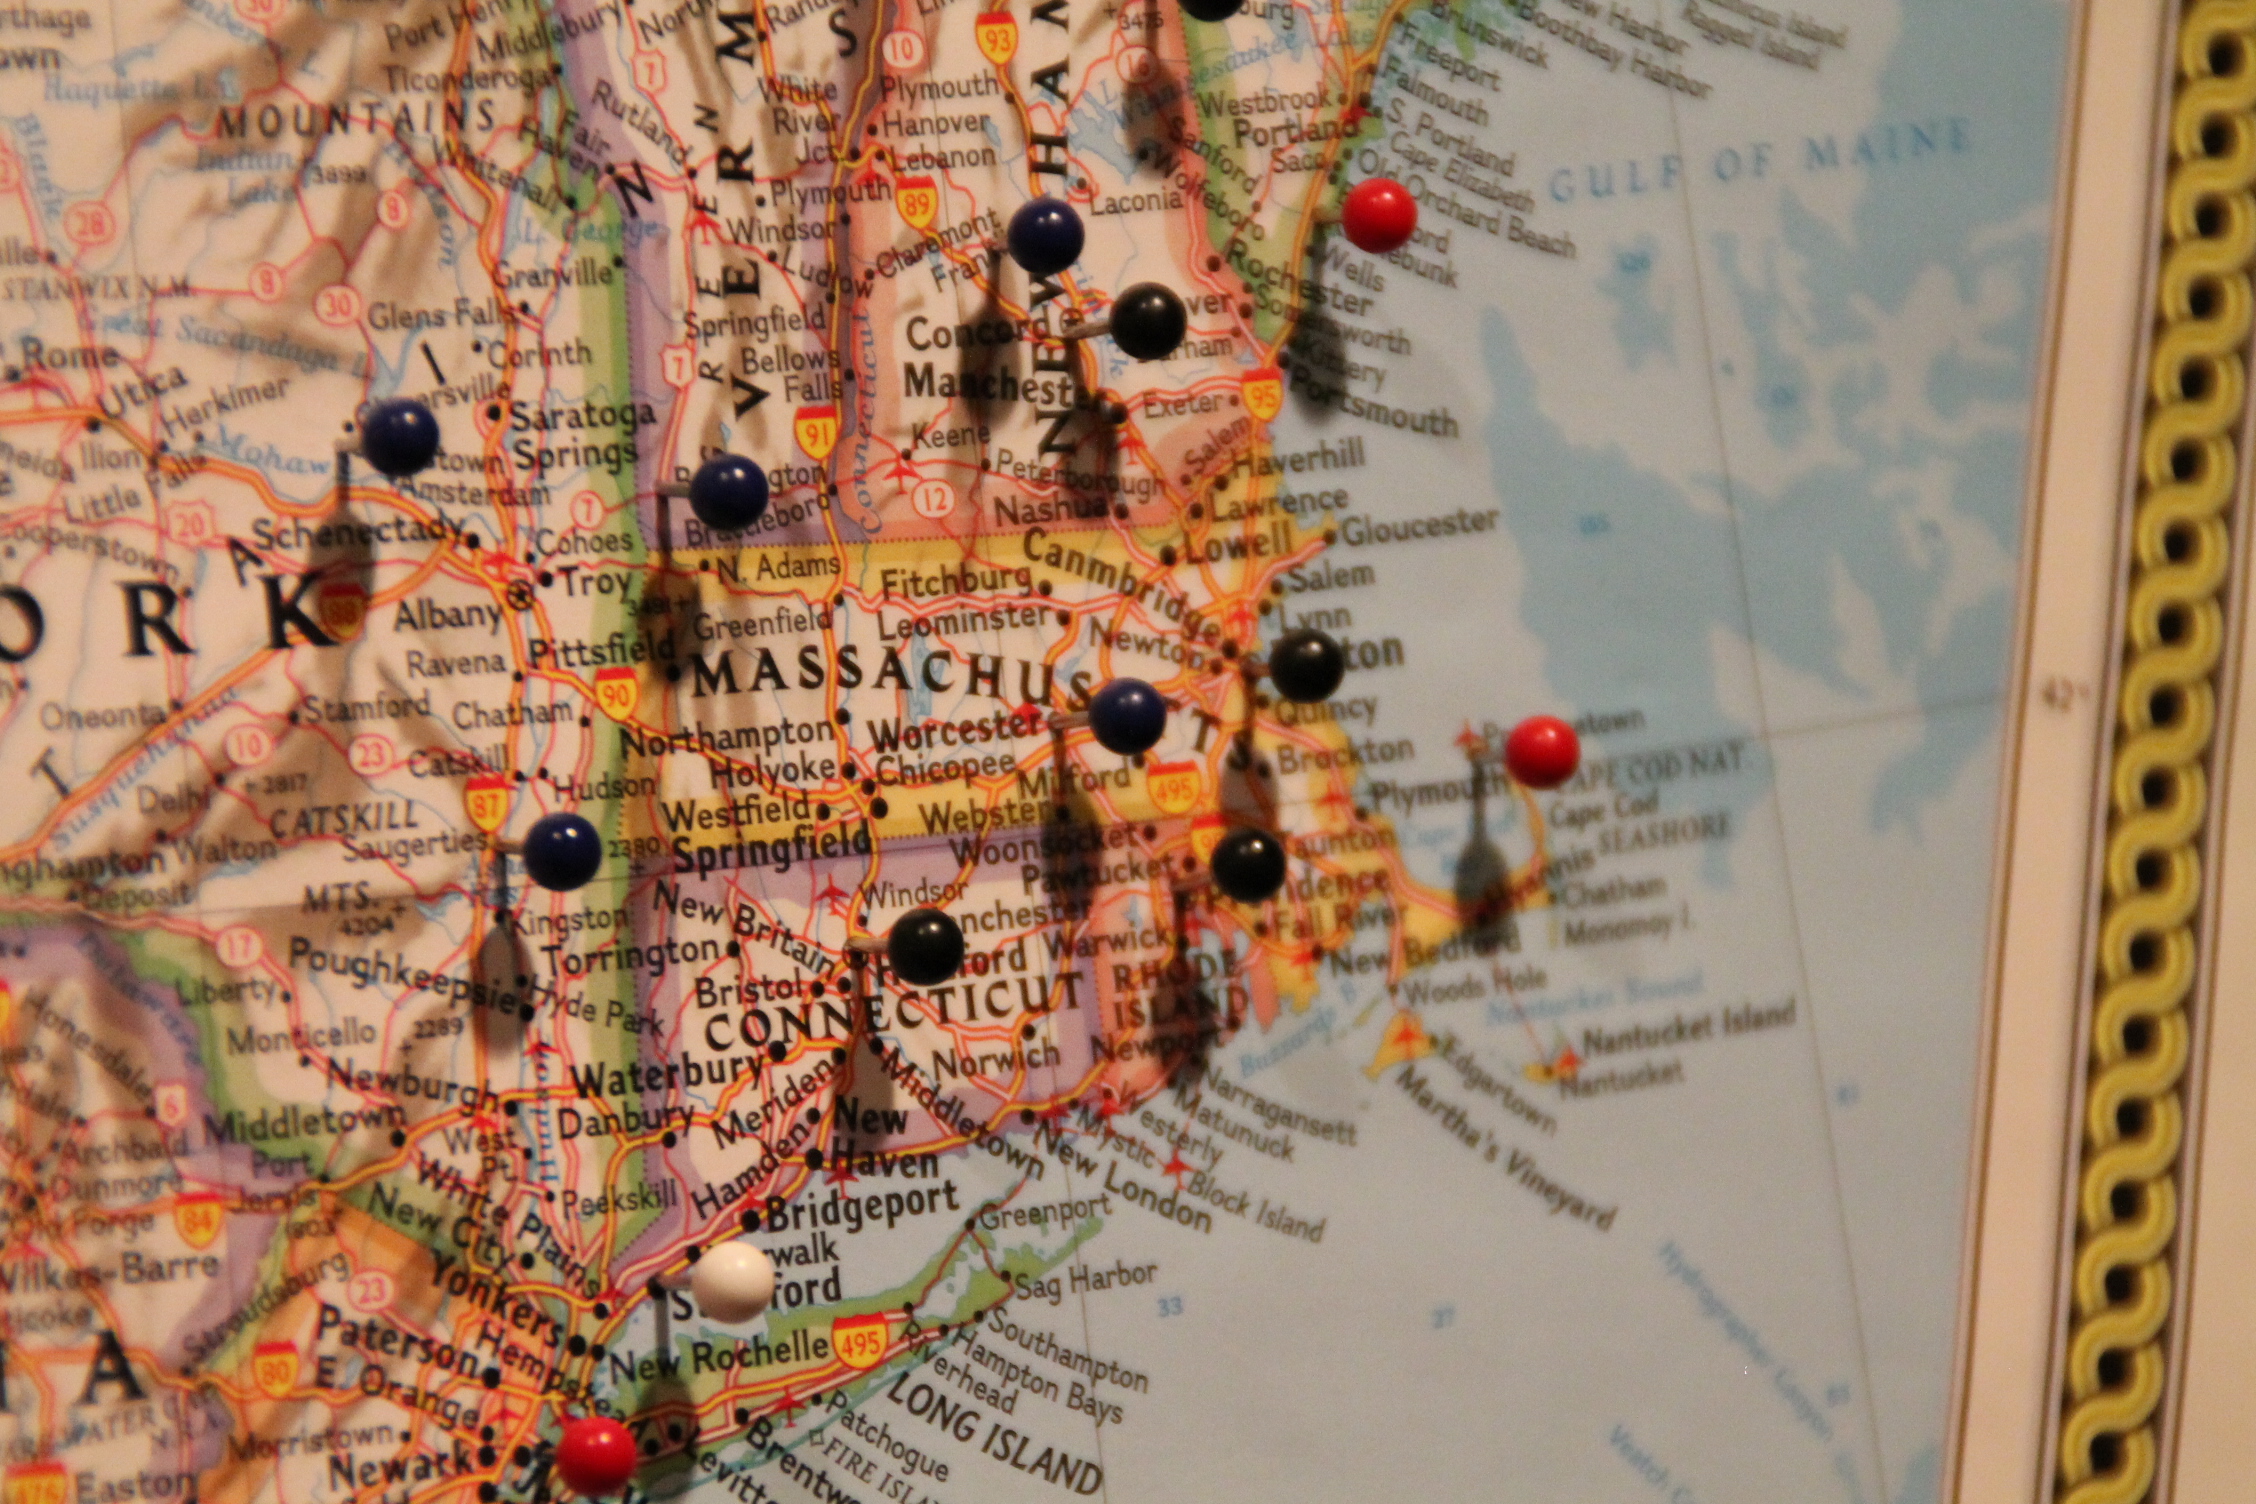
And voila… a pinboard map, ready to be pinned and enjoyed.
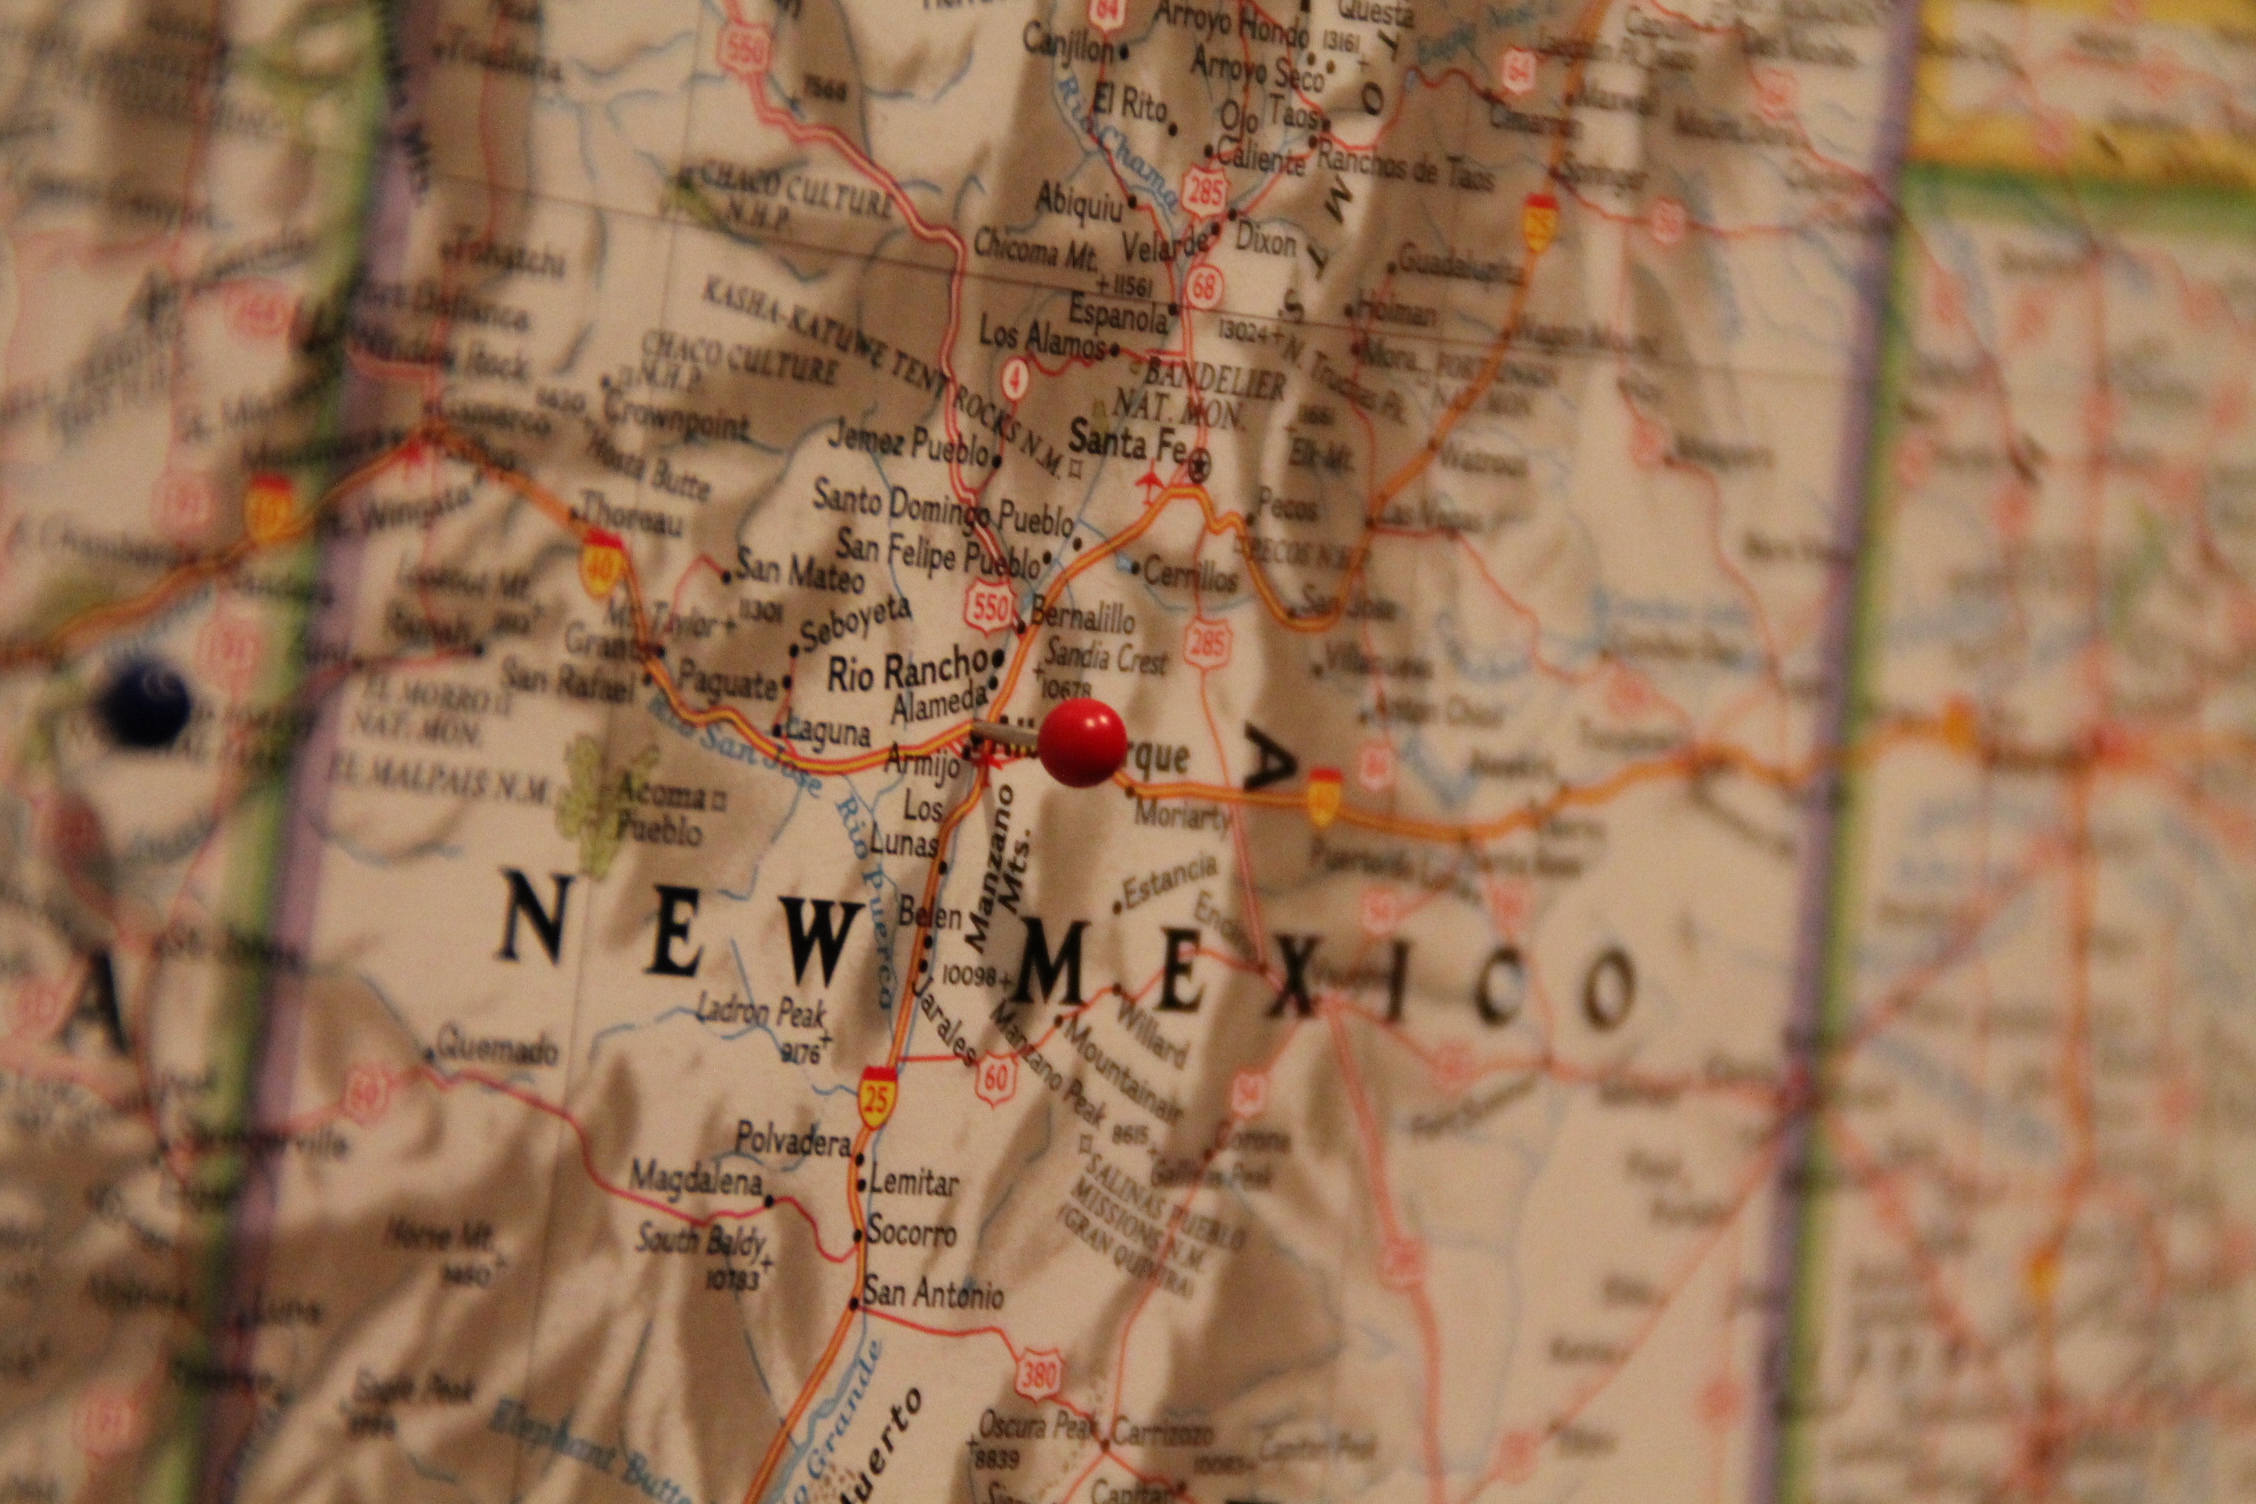


is that durango or pagosa you have a pin in? pretty please come visit again!! hahaha 🙂
Good eye! 🙂 And I would LOVE to visit again someday.
Don’t forget to pin Galena, IL:)